


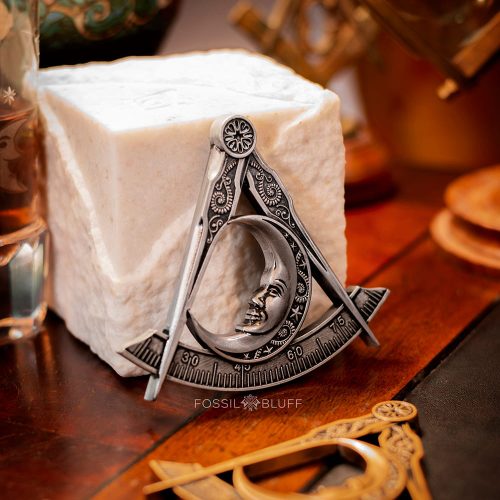
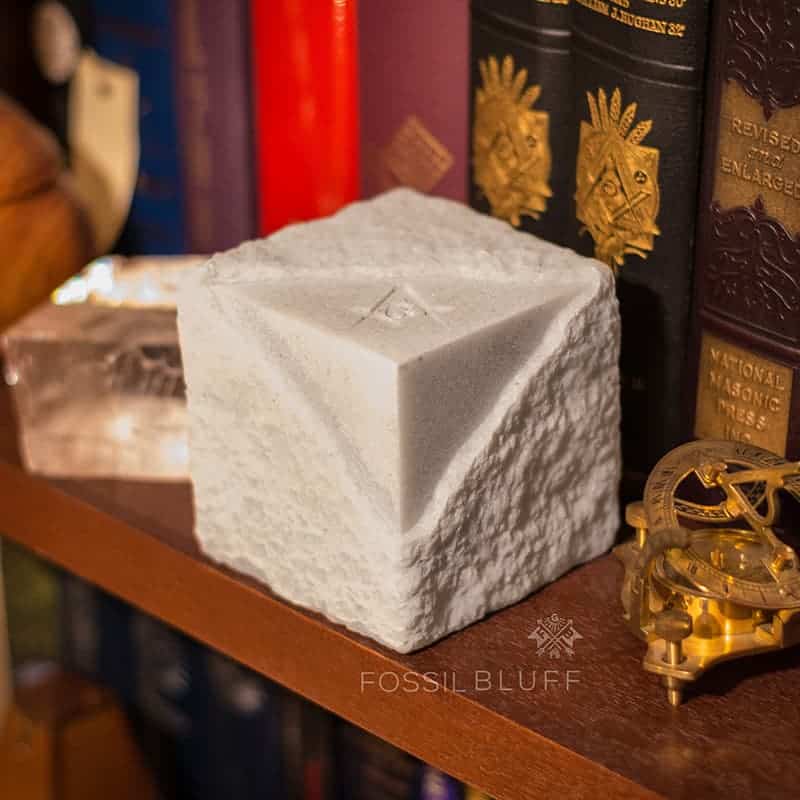
When I decided to make this combination Masonic Rough Ashlar and Perfect Ashlar with a Square and Compasses on it, I expected the project to be fairly straight forward. The research had been all but done on meaning of these two allegorical symbols, but what about making them? Let me just say, the valley between vision and reality can be very vast. The pleasure or peril of the path through that valley can be as short or as long as you can endure.
My journey had thus begun.
Many of you may not know this, but Masonry isn’t the same across the multiverse and the opinions of its members are even more diverse! Keeping that always in mind, I often check in with various foreign and domestic ‘well educated’ brethren to offer insight, opinion, and understanding about Masonic symbolism. The ashlars it turns out were fairly consistent in their description.
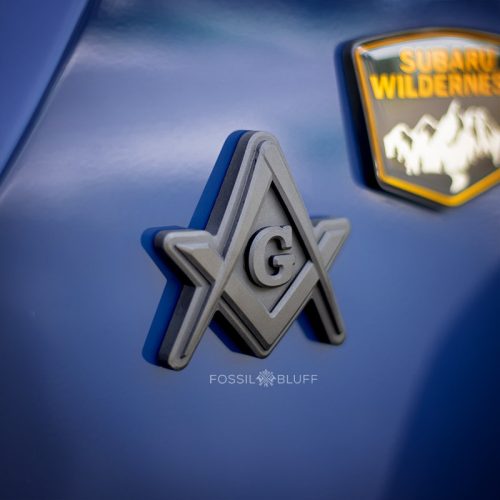
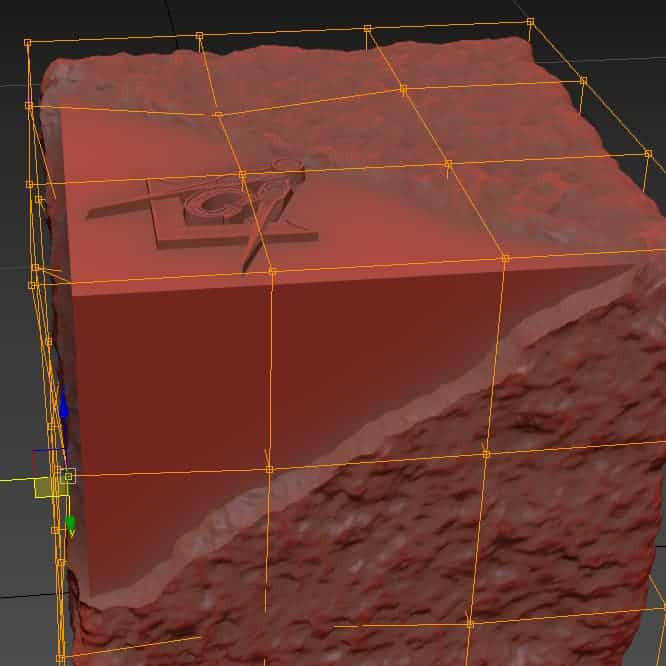
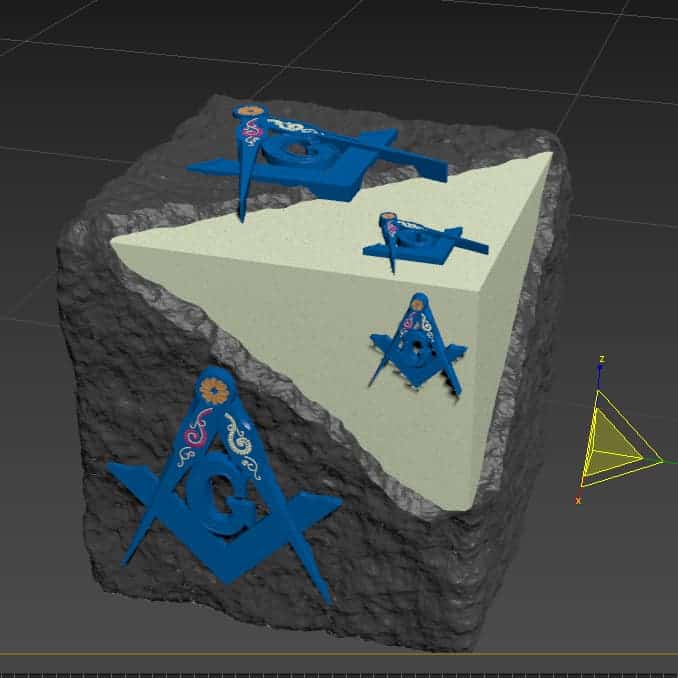
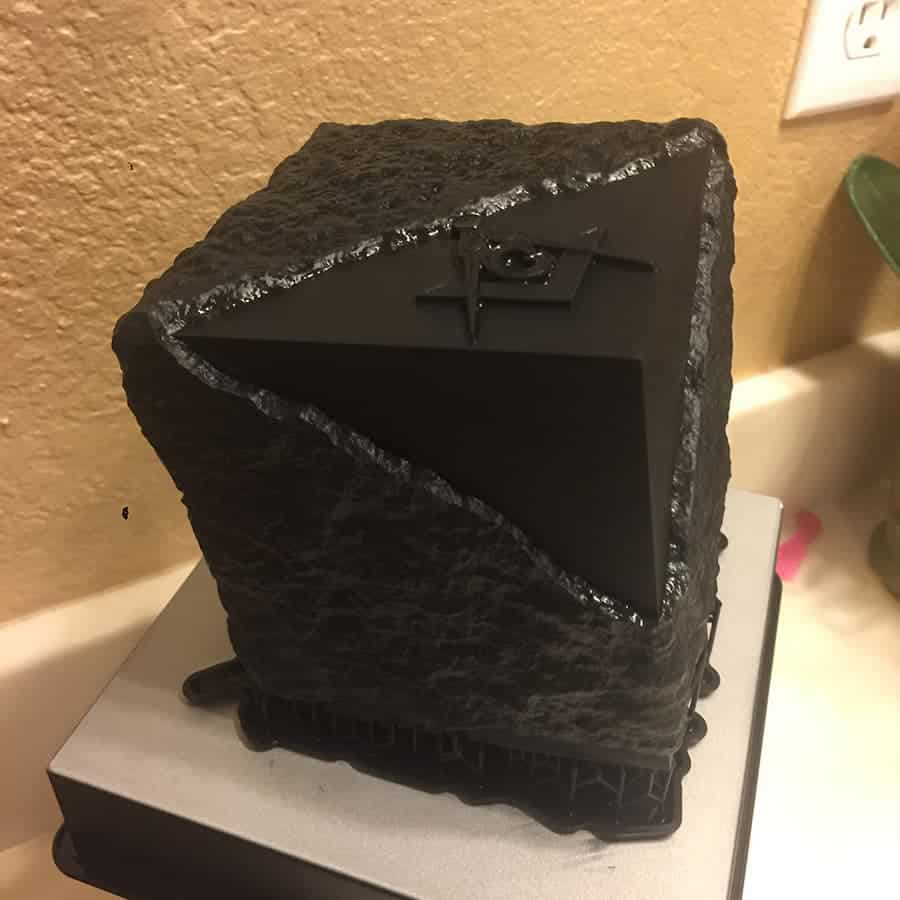
Generating the assets for the 3D model was fairly straight forward. Generate three cubes, make two of them look bumpy and keep one ‘perfect.’ I then thought I would recycle a previous model of the Master Masons Square and Compasses with a G in the middle to place on the finished piece somewhere.
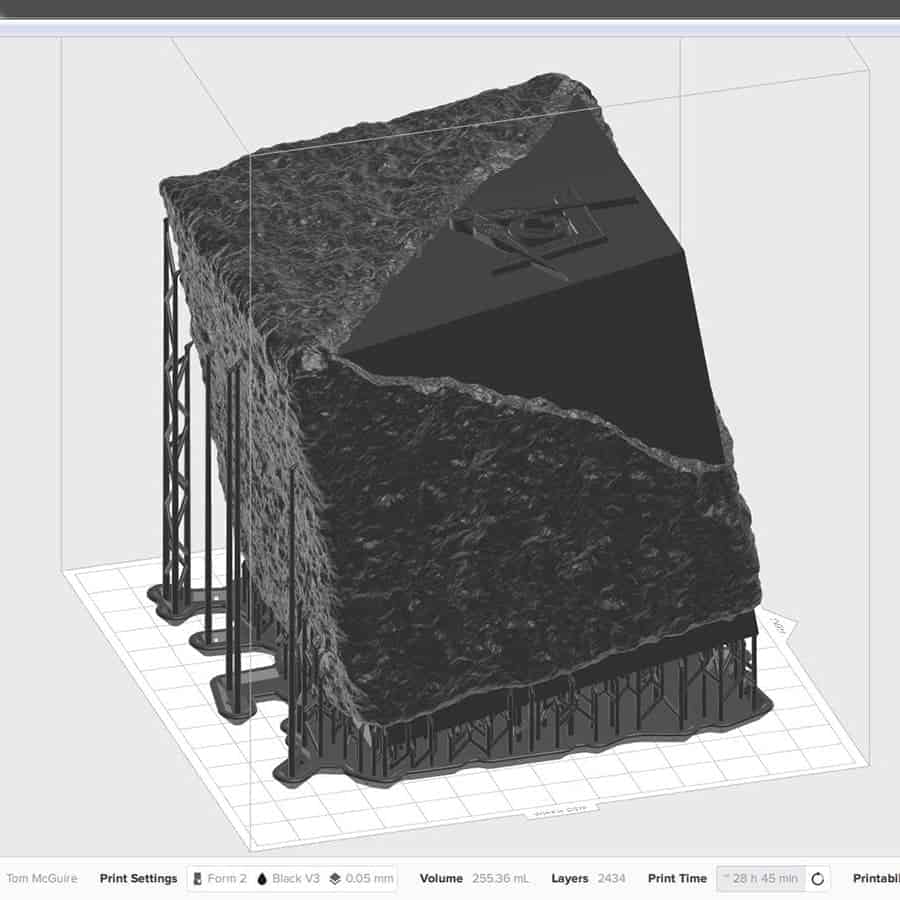
Easy. Right? Well, let’s get back to the ‘opinions’ of Masons on symbolism. I asked no less than 7 different Masons about where to locate the Square and Compasses and each was resolute in their decision, two of which were the same. I was finally able to settle on placement and then sent the file to our Form 2 SLA printer.
After many design variations and as many 3D Prints, it was clear that more research needed to be done. Especially with respect to ensuring a successful outcome in the reproduction of these Ashlars. Creating a 1-time print and calling it done is much different than creating something with the intent to be able to create replicas of them.
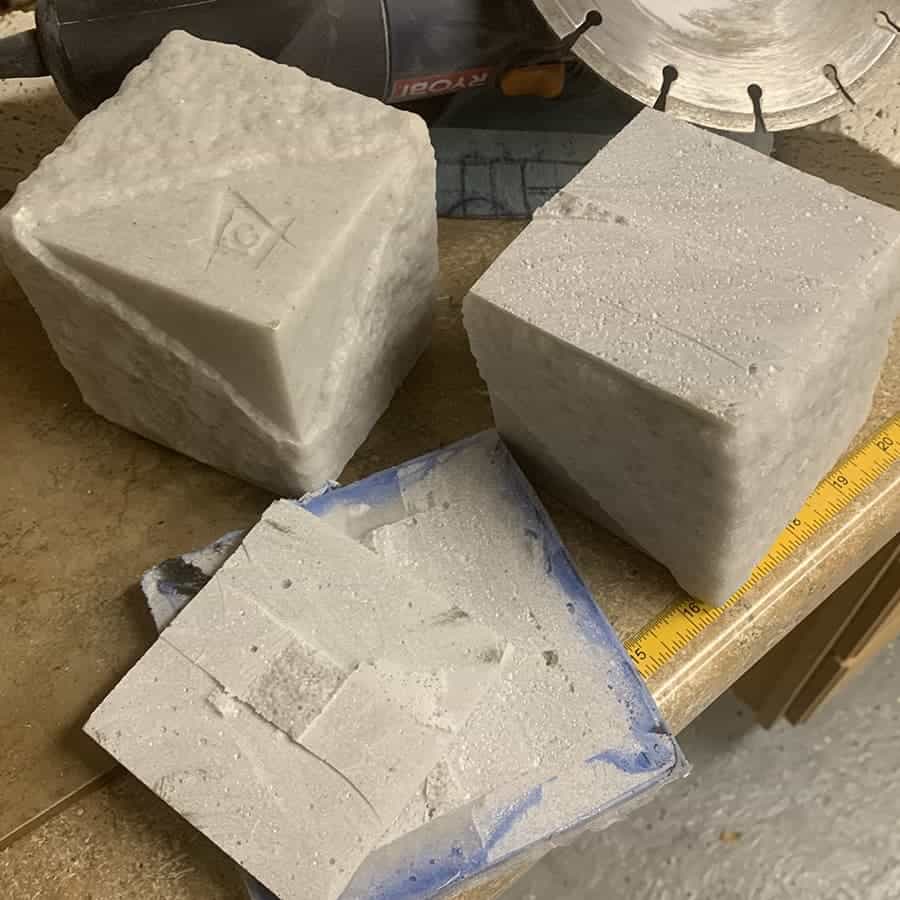
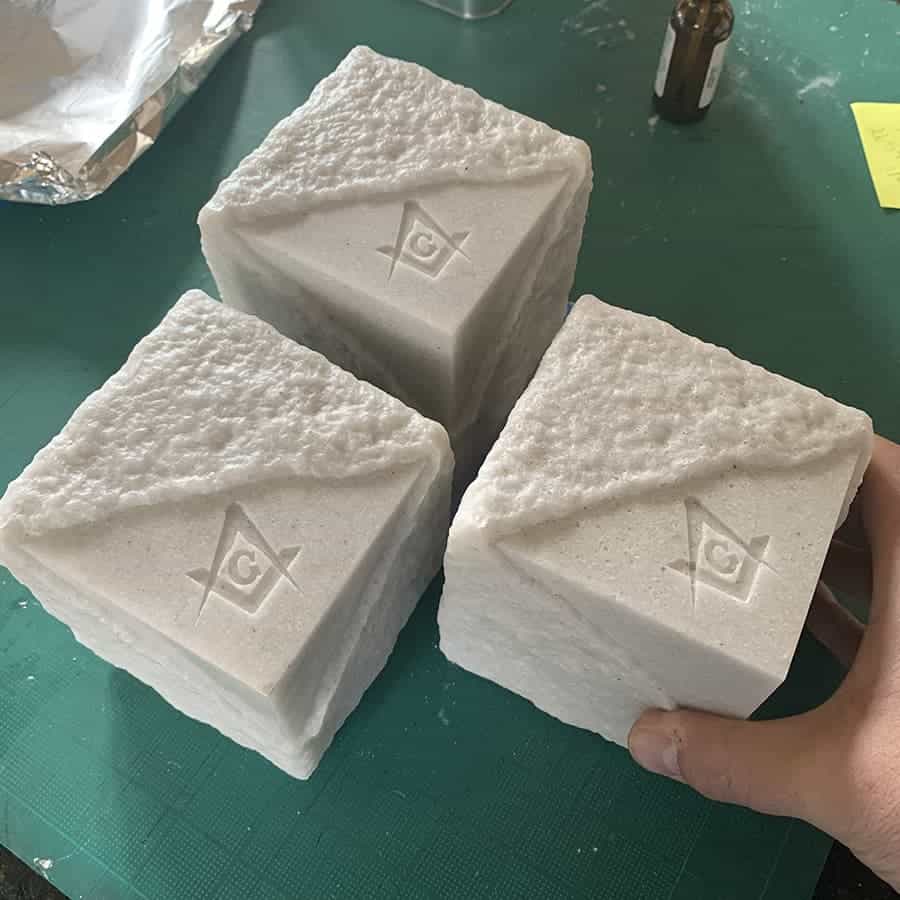
Molds were made, many failures were also made, and in the end I had a design that was working well and met the philosophical needs of the project.
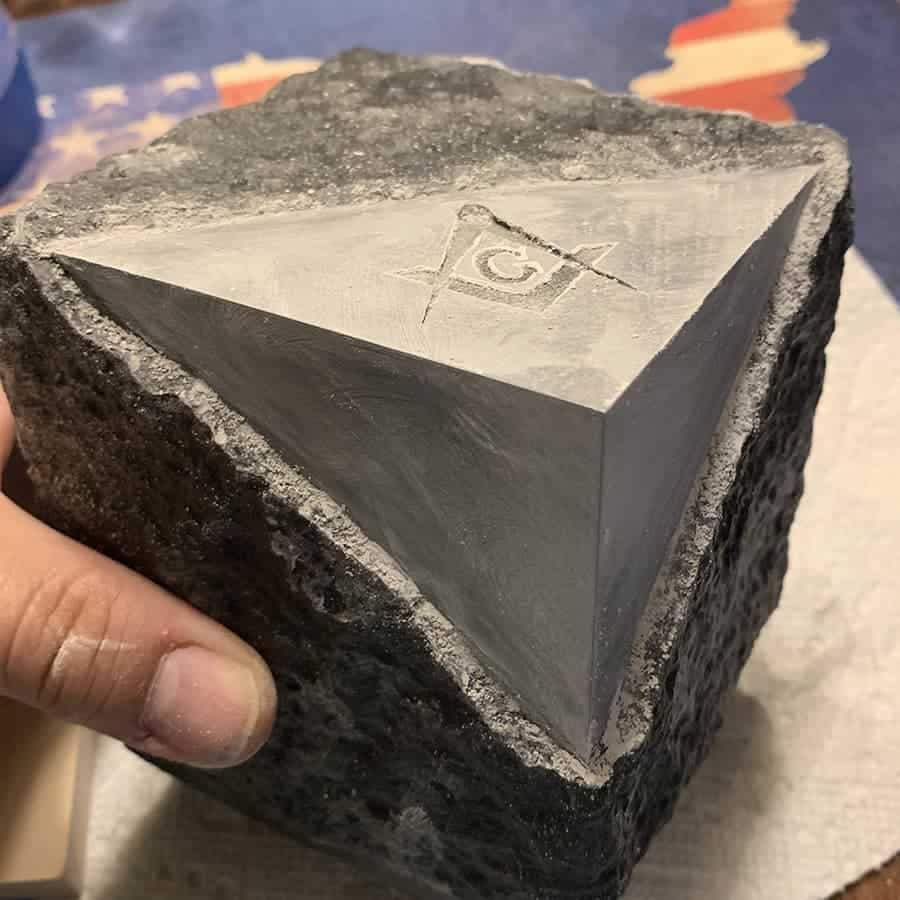
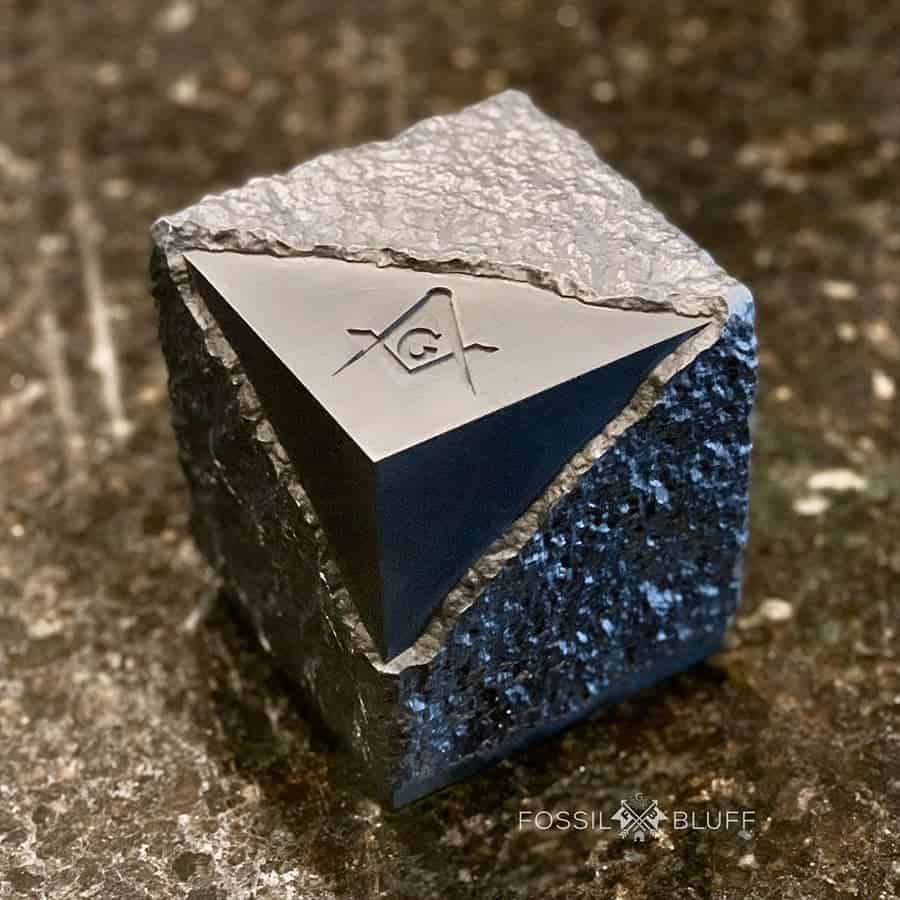
Testing began with special attention given to the materials used. From the very beginning the design fit and finish of the Ashlar needed to resemble marble. I had tried many different aggregates and resins. Success was finally achieved and i could finally begin making Ashlars.


 Free expedited USPS Priority Mail shipping within the US.
 Each work of art is handcrafted with meticulous attention to detail.
 Gift cards are the perfect gift for any occasion.
